In this article, I'll show you how to build a coil gun. A coil gun is a device that fires magnetic projectiles at high velocities, using electricity. Coil guns require no explosive propellant, therefor can be fired an infinite amount of time, providing that there is ammunition and available electricity.
The Coil Gun: Concept
A coil gun typically consists of a coil(s) of copper wire (similar to a solenoid), a capacitor bank, a transformer, a DC power source, a method of releasing the energy in the capacitors through the coil, and a projectile. When firing, the coil of wire induces an intense magnetic field that draws the ferromagnetic projectile into the barrel. When the projectile reaches the coil, the magnetic field is turned off, causing the projectile to continue down the barrel at high velocities. The coil gun built in this article is quite simple, focusing on the fundamental concept and availability of materials. For more information on coil guns, click here.
The Materials
- You can either make your own coil, or find/buy a solenoid (found online here)
- A disposable camera, or other DC voltage source over 300 volts.
- A capacitor (the one from the disposable camera works fine, for this project)
- Wire
- Solder
- Nail or similar small, magnetic object.
- Hot glue
- Gun-like case (I find a great case for everything is a soldering "gun". These can be purchased at most hardware stores, and look similar to this)
- Switch/trigger (you can use the switch from the soldering gun, it works great)
- A barrel (it must fit inside your coil snugly, I used a pen case)
- Small on/off switch (can be extracted from unused electronics, or found online here)
- Batteries (I used two AA batteries)
- Double AA battery case (found at most electronics stores, or online here)
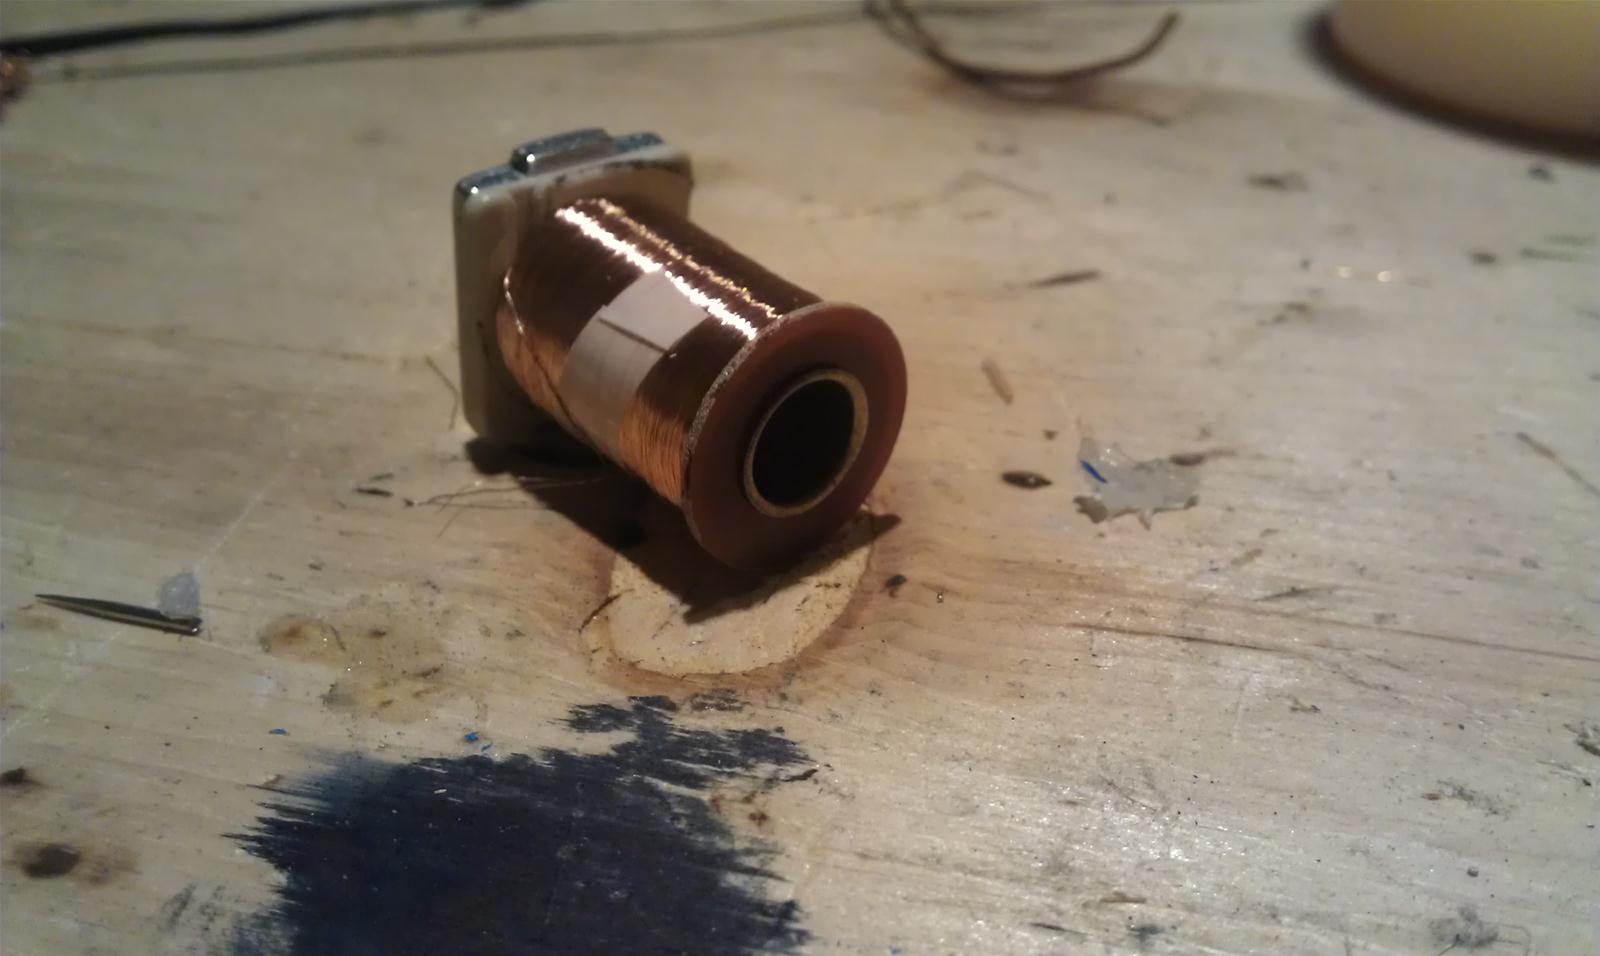
Note: I used a different on/off switch, but any on/off switch works. For the solenoid, you most likely will have to remove the plunger and outer casing, so it looks like this:
The Tools
- Soldering iron
- Hot glue gun
- Wire cutters
- Exacto knife
- Screw drivers (depending on your disposable camera and your soldering iron, you could need Phillips or Flat)
The Procedure
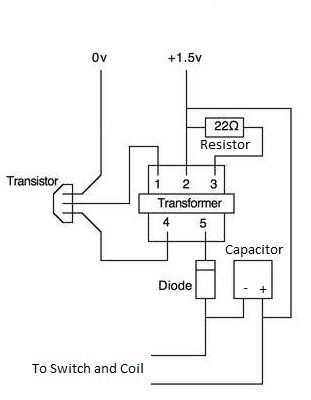
- Build the transformer circuit using the schematic below, or follow these instructions on how to make the circuit (if following the instructable guide, replace the film capacitor used with the one from your camera circuit).
- Next, extract the capacitor from the camera circuit and place it aside for later.
- Open up the soldering gun, and remove everything from inside except the trigger button. Desolder any wires attached to the switch.
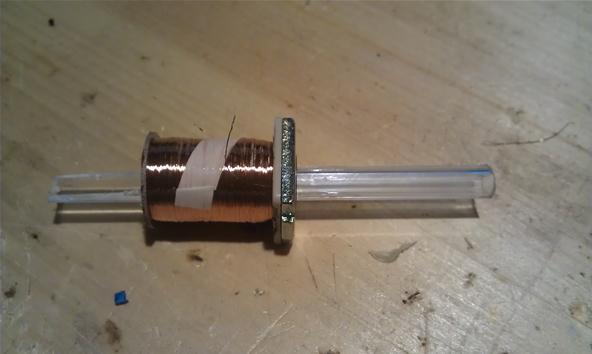
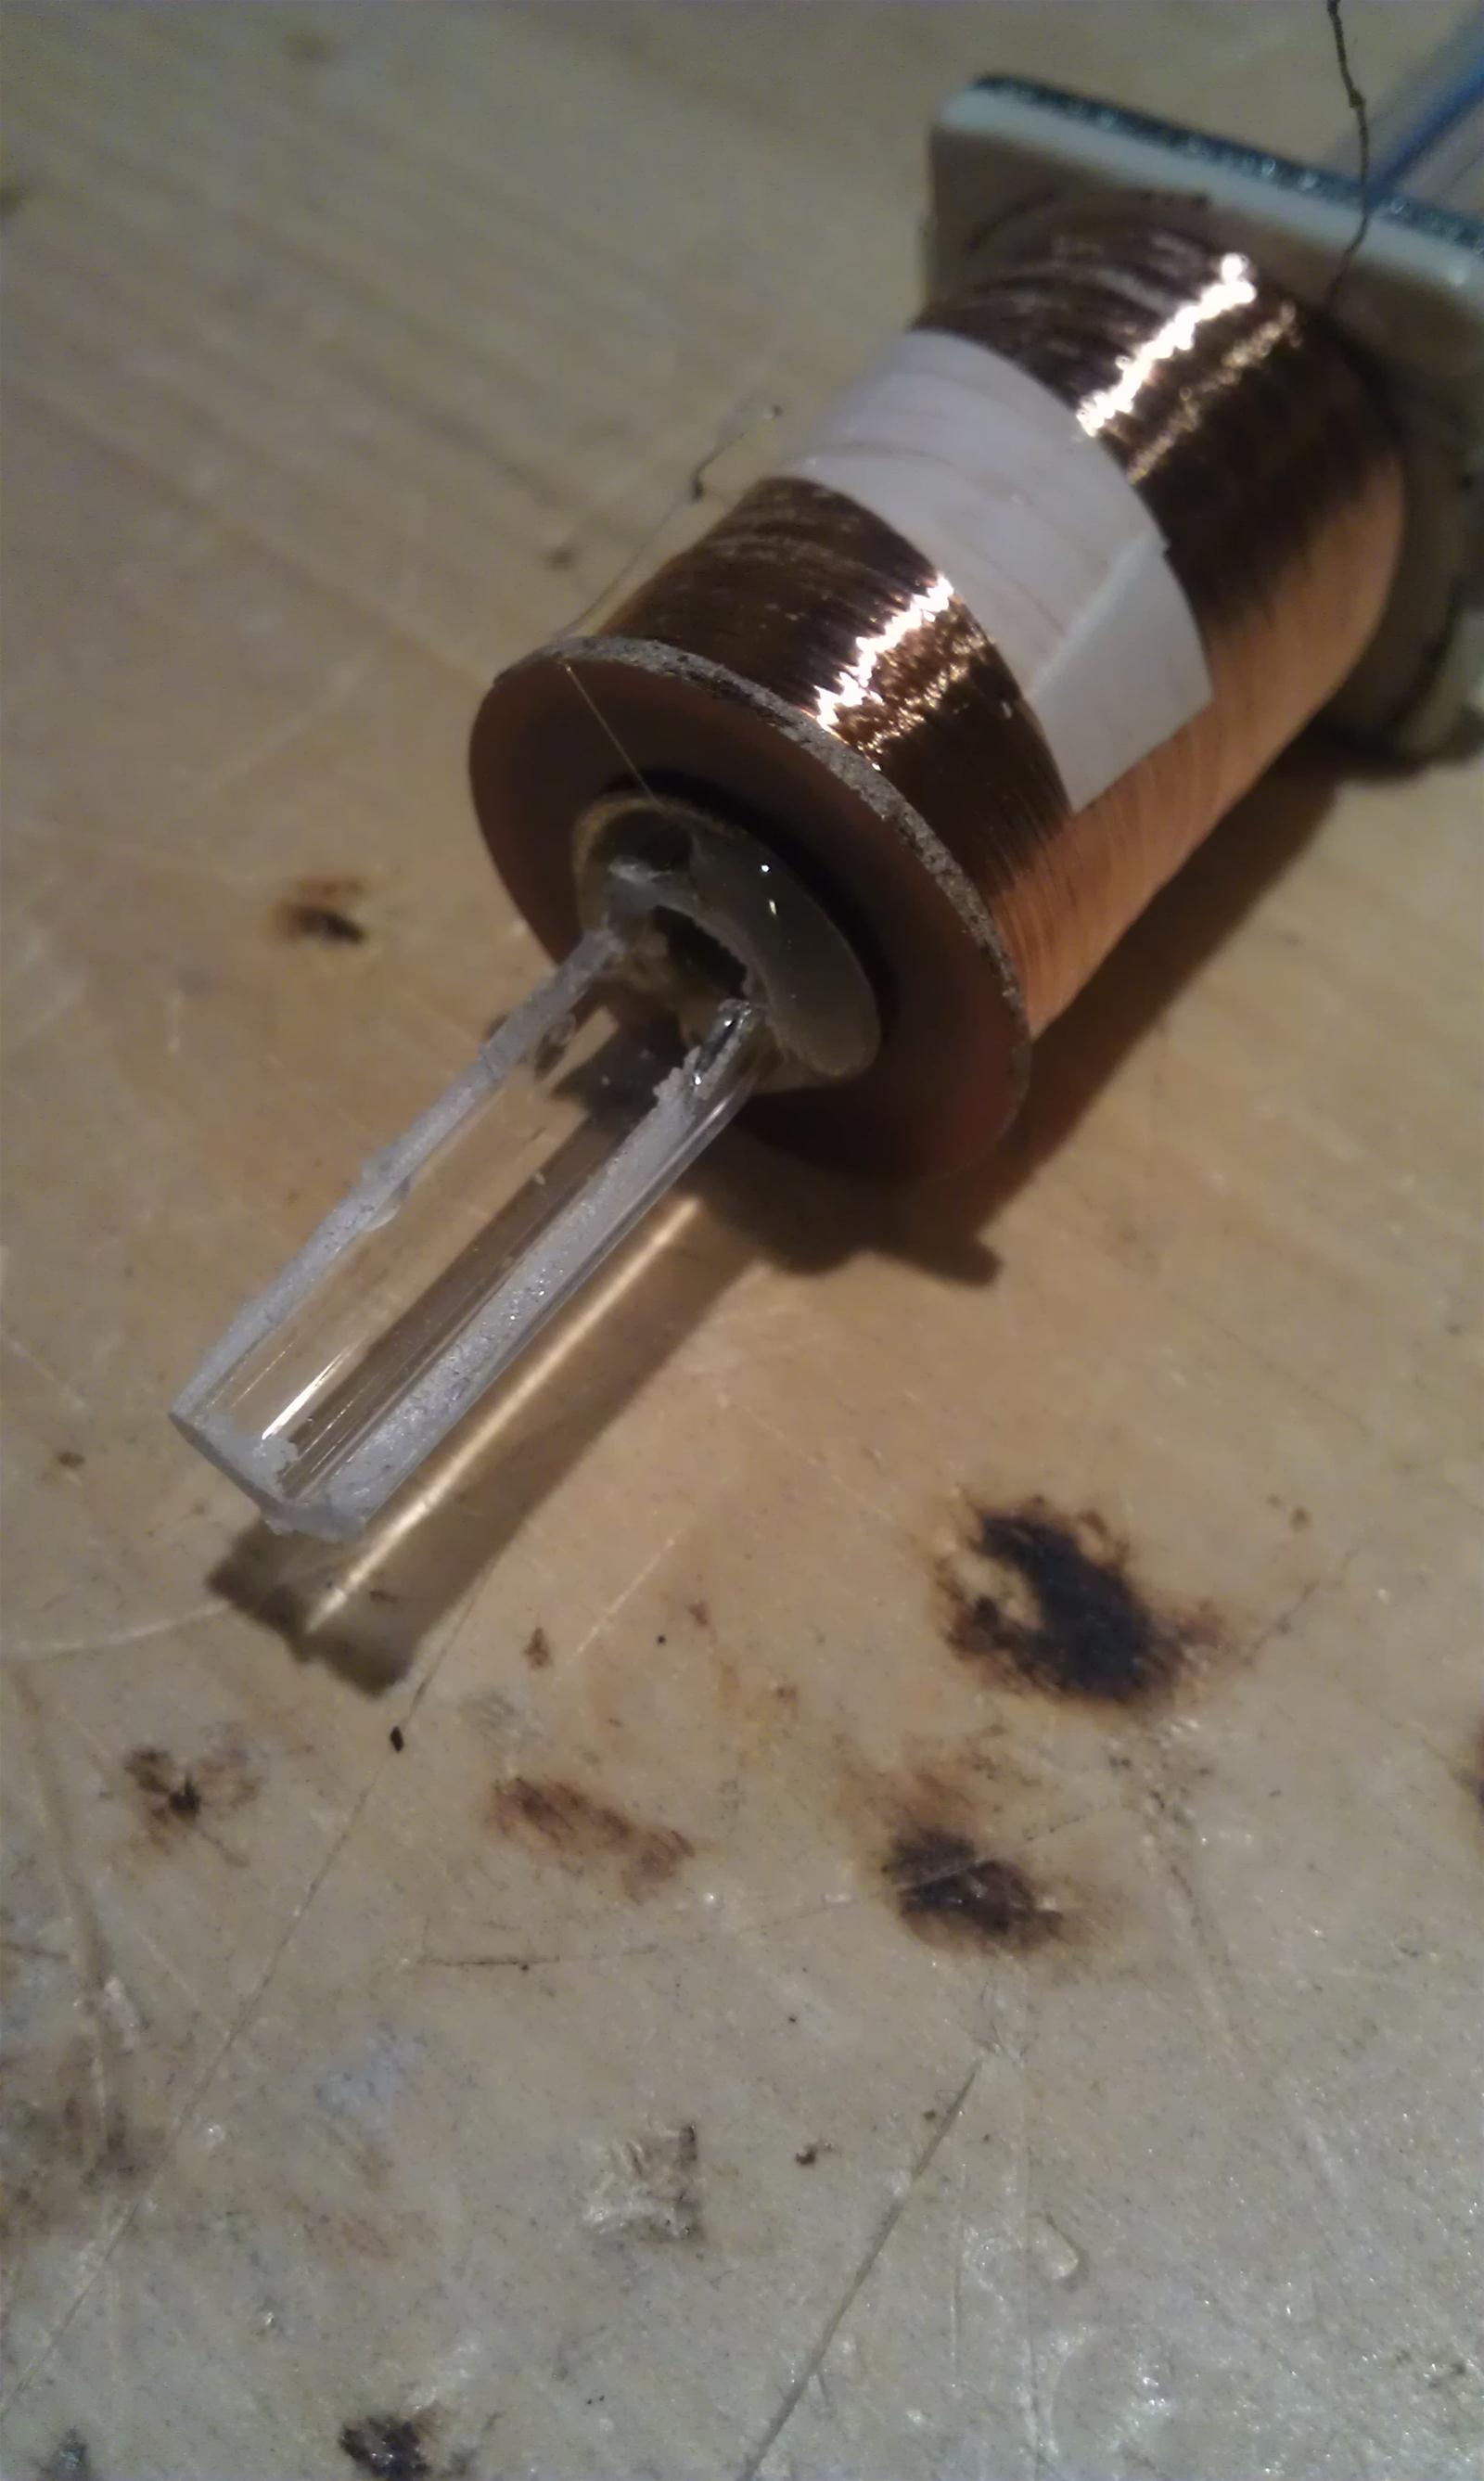
- Insert the barrel (the empty pen case) into the solenoid, and glue it securely so that about an inch protrudes out of one end, and three inches out of the other, like this:
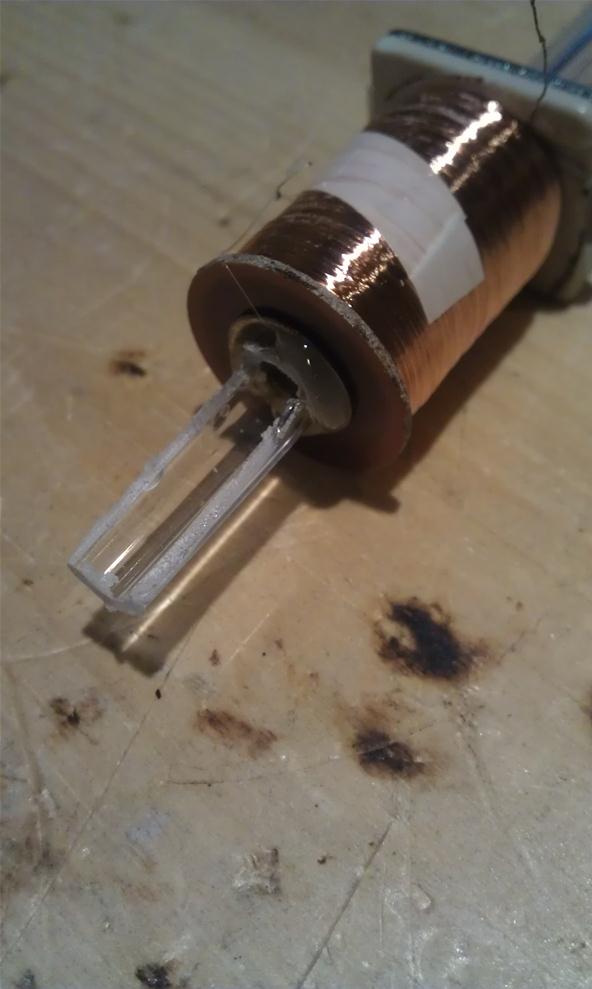
- With an exacto knife, slice the one inch portion of the barrel in half horazontally, so it looks like this:
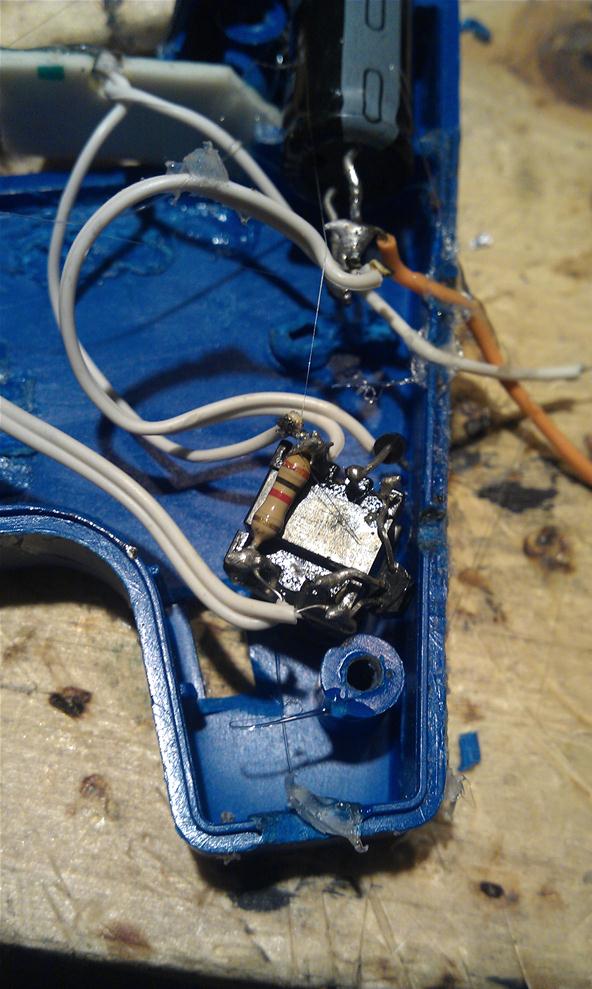
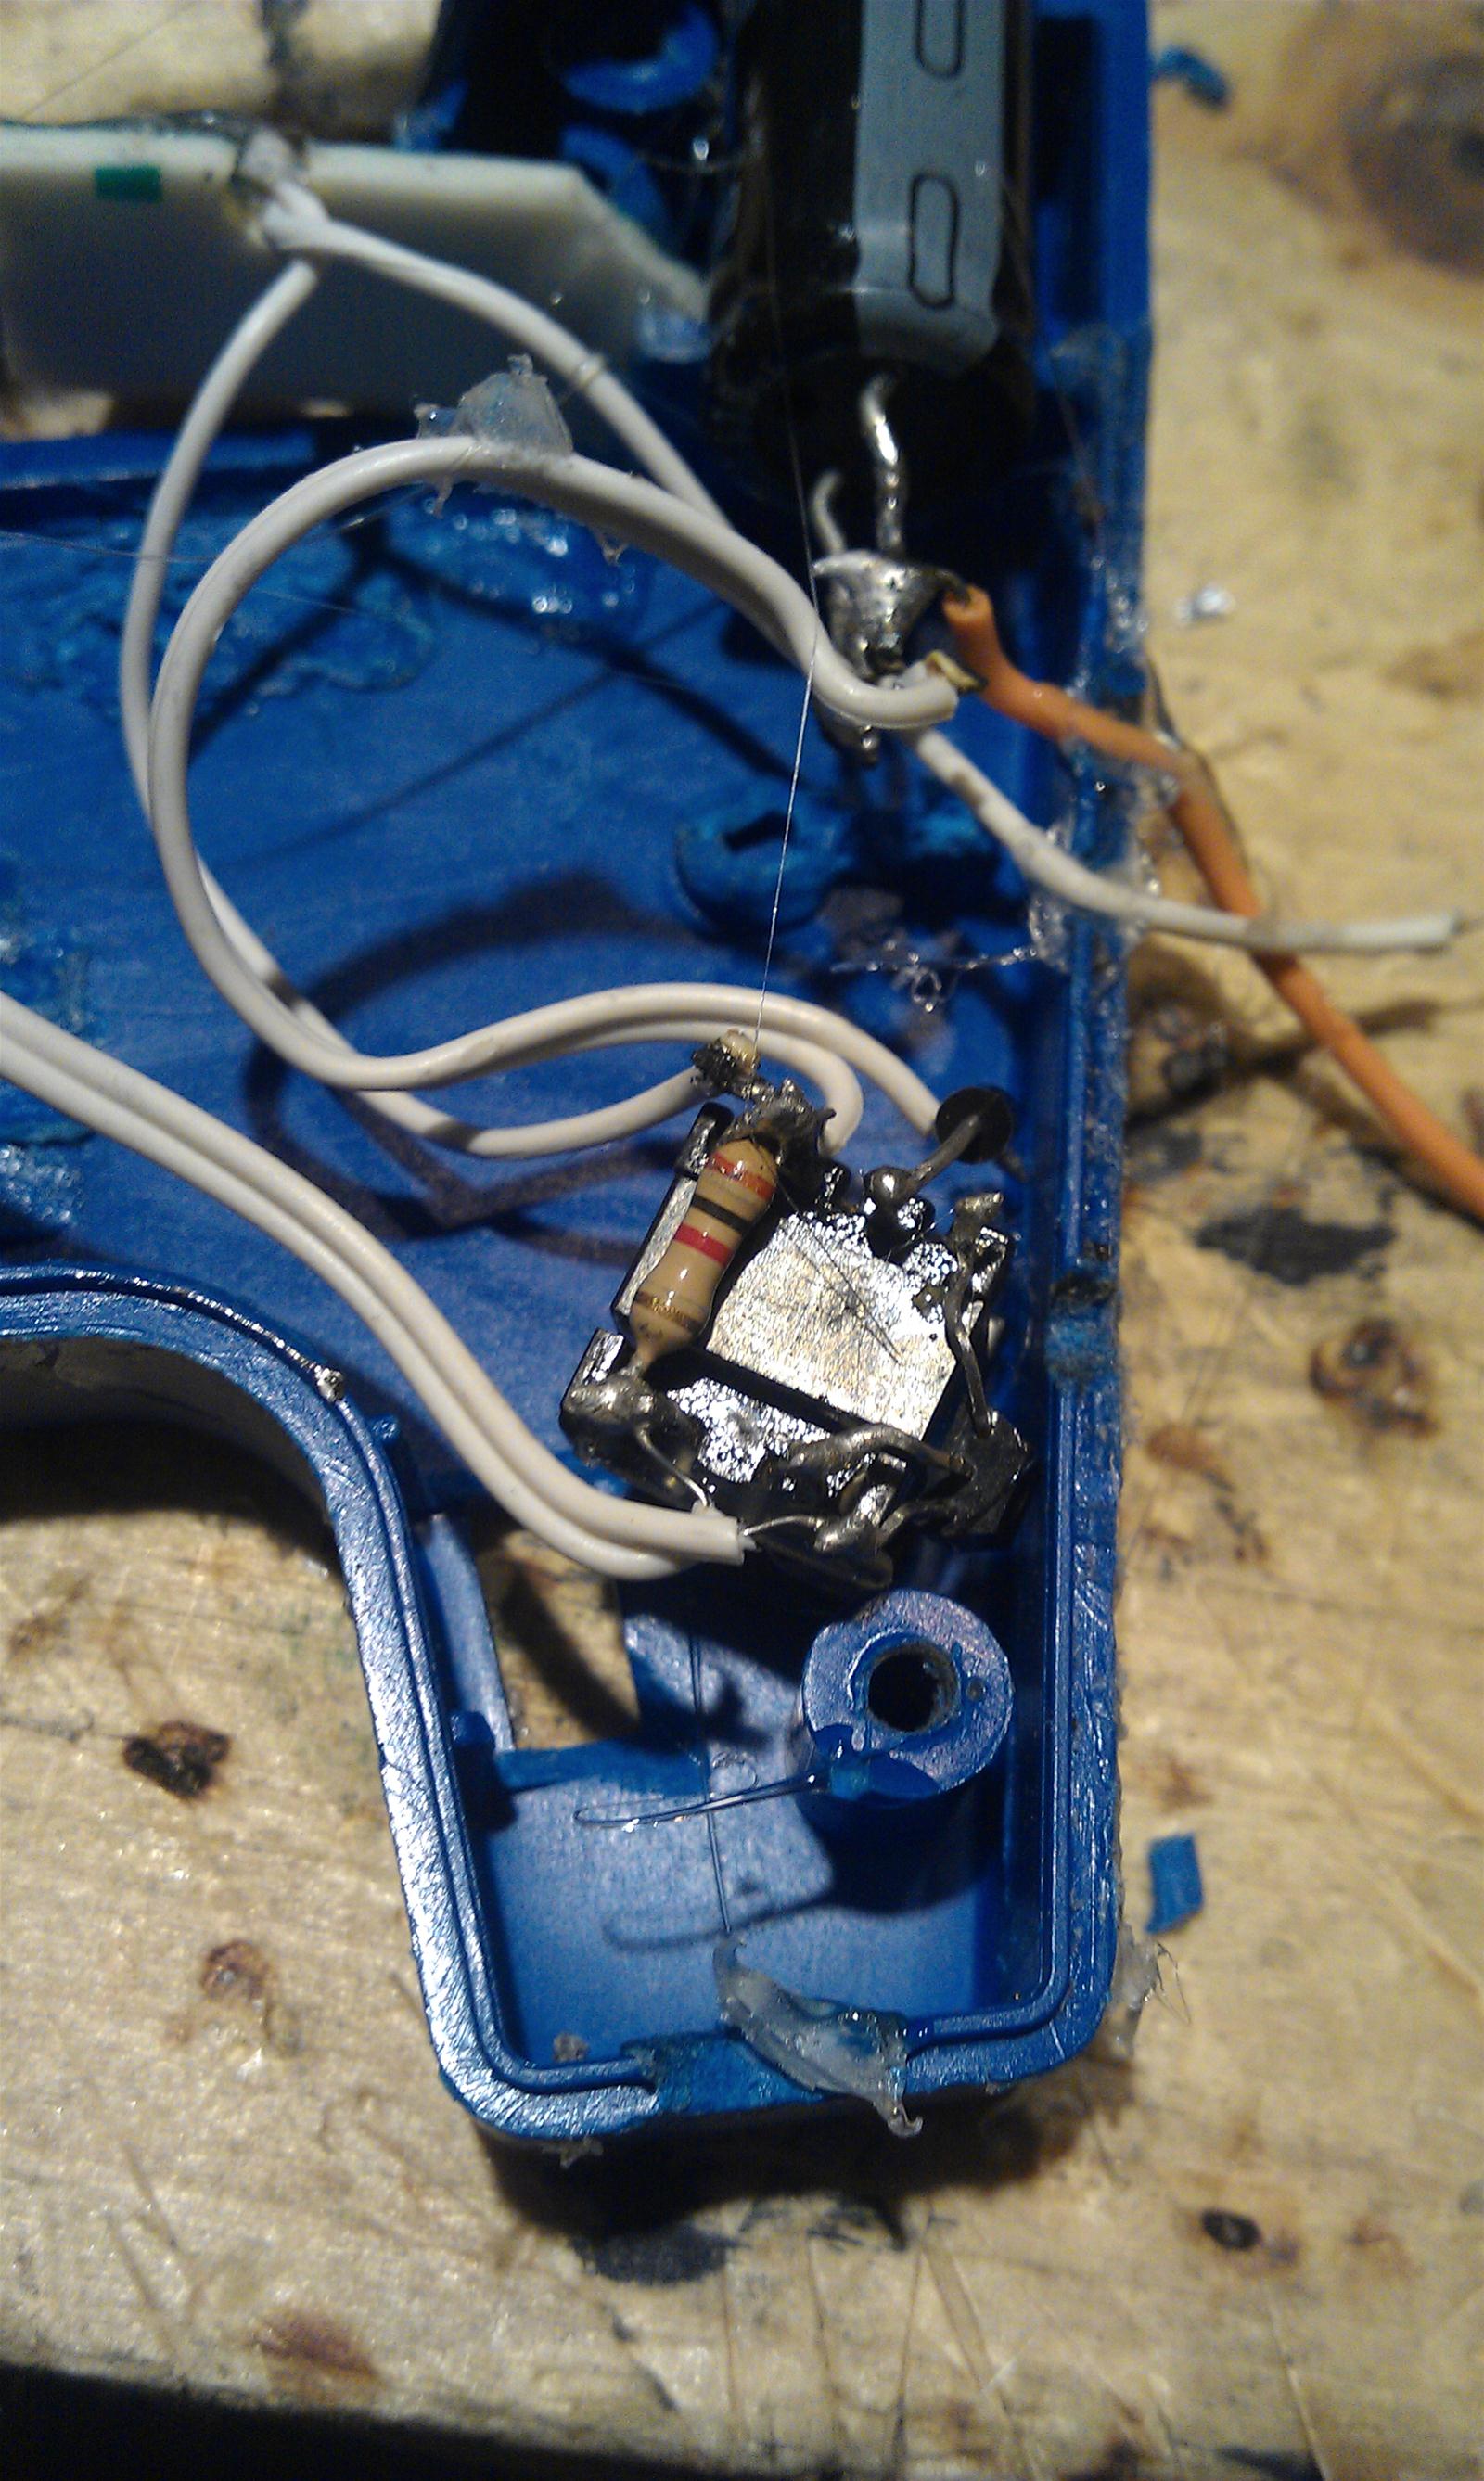
- Now, mount the coil either inside or on top of the soldering gun case. I couldn't fit my coil into the case, so I stuck it on top (it doesn't effect the preformance of the device)
- Solder the coil in series with the soldering gun trigger and the capacitor.
- Take the two AA batteries and place them in the case, then solder the two output wires in series with the on/off switch and the transformer circuit.
- Cut two half circles in each side of the soldering gun.
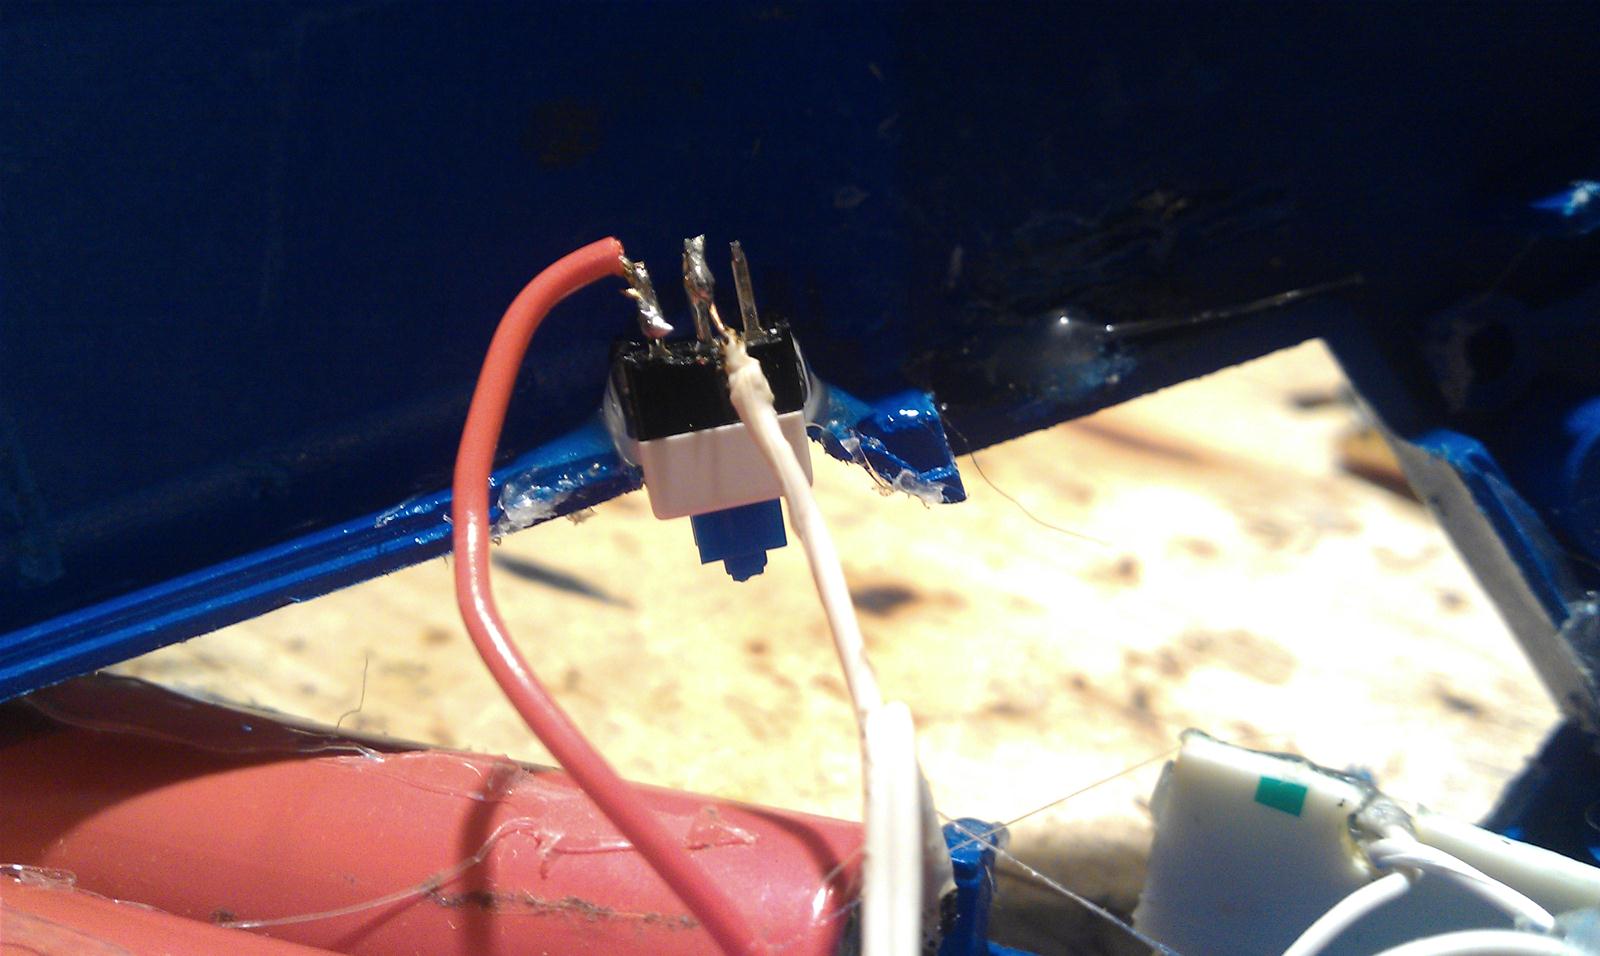
- Insert the on/off switch into the notch securely, and glue it in like this:

- Finally, glue the AA battery case into the soldering gun case, and mount the transformer inside as well with hot glue, like this:
- Screw the soldering gun back together, and your done!

If you're interested in other high voltage projects, the high voltage circuit used in this article was also used in How to Make a High-Lighter Stun-Gun and Butane Combustion Capacitor Launcher Stun-Gun.
Usage Instructions
Turn on the on/off switch and wait about five seconds for the capacitor to charge. Now, insert the magnetic projectile in the one inch end of the coil, or the back end. Aim at a non-living, useless object and press the trigger. The projectile should reach speeds of around 80 feet per second. As mentioned earlier, this is the very simplest version of a coil gun, relative to the materials avalable. To increase the power of your coil gun, follow this guide (Note: This guide is only for the technically advanced!! Its expensive to build and takes lots of experience in electrical work).
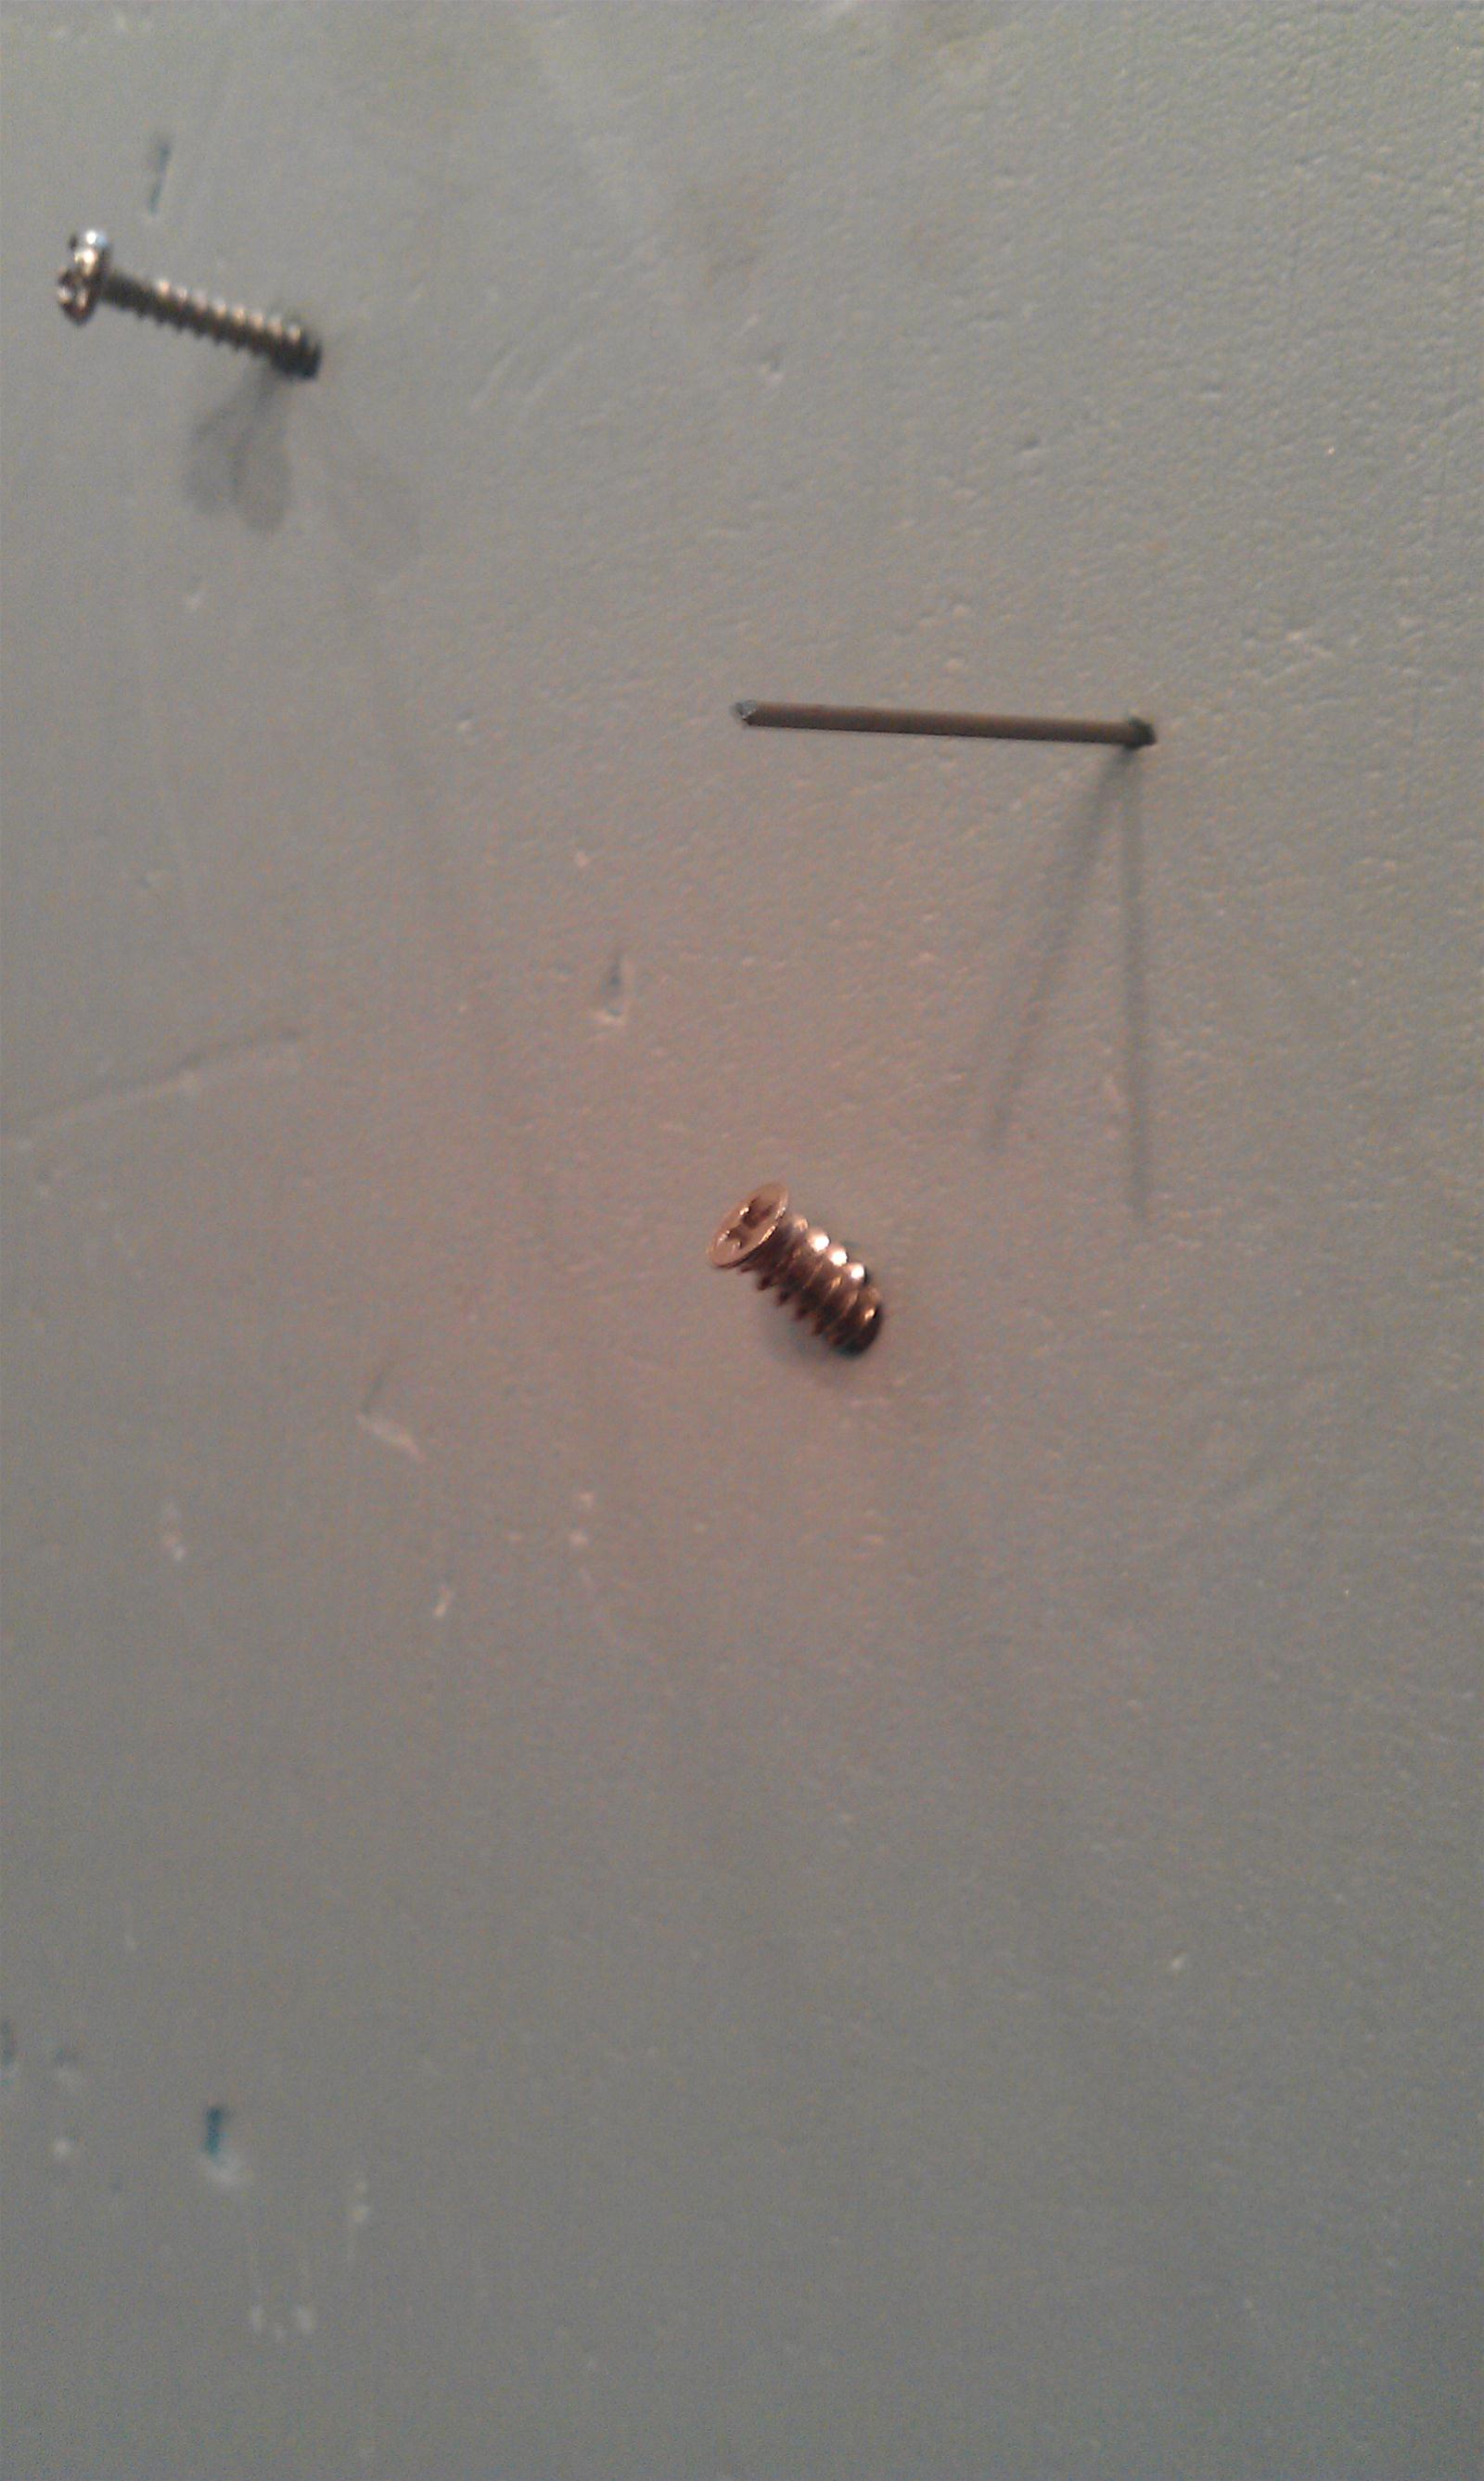
Results may vary, but I was able to launch small metal screws into a piece of styrofoam from about ten feet:
Tips
- If your wrapping your own coil, make sure you have about 80-90 turns, otherwise there will be too much resistance.
- Try varying the distance of the loaded projectile to the coil
- Try varying the amount of time you charge the capacitor
Warnings
- This involves high voltage! Don't electrocute yourself
- Soldering irons are hot, don't burn yourself!
- Same goes for the hot glue gun
- I am not responsible for any damage or harm you cause with this device